

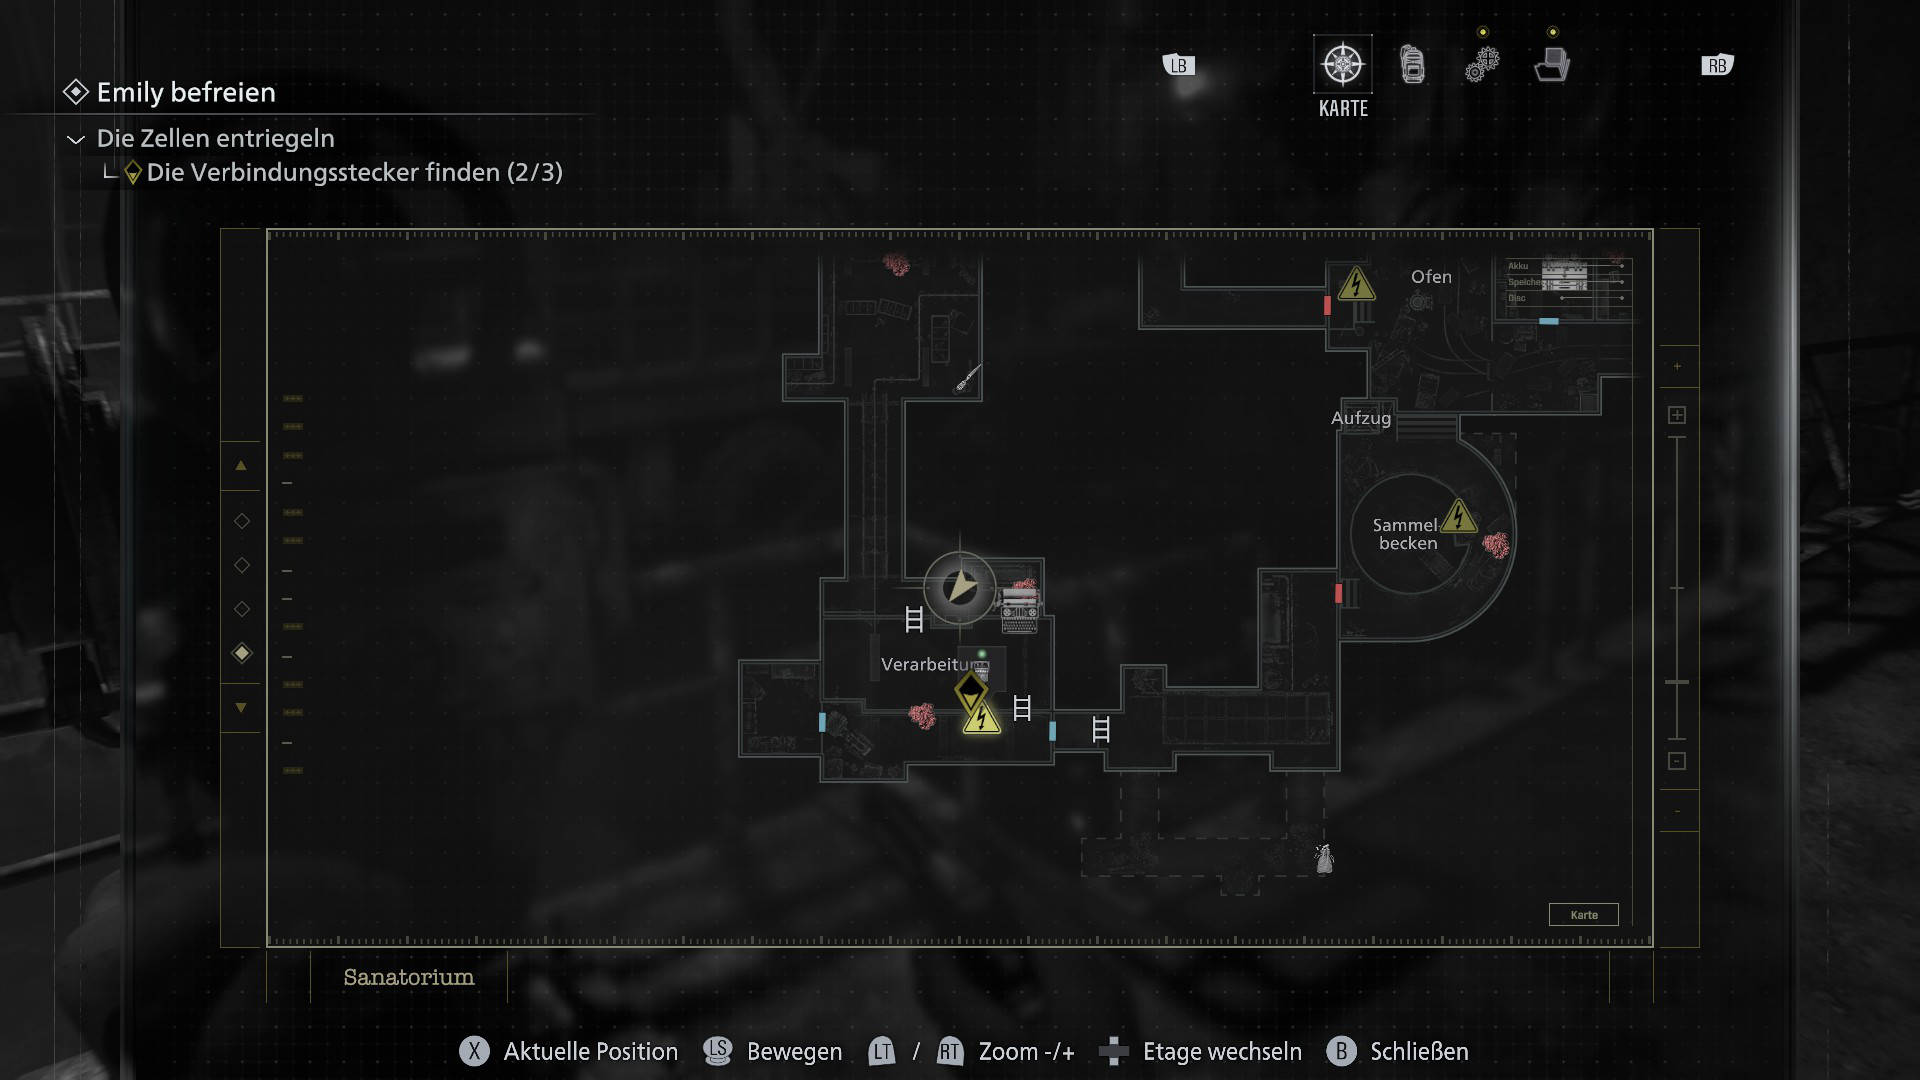
Navigating the Rhodes Hill Care Center in Resident Evil Requiem requires players to restore power by locating and installing three Joint Plugs.
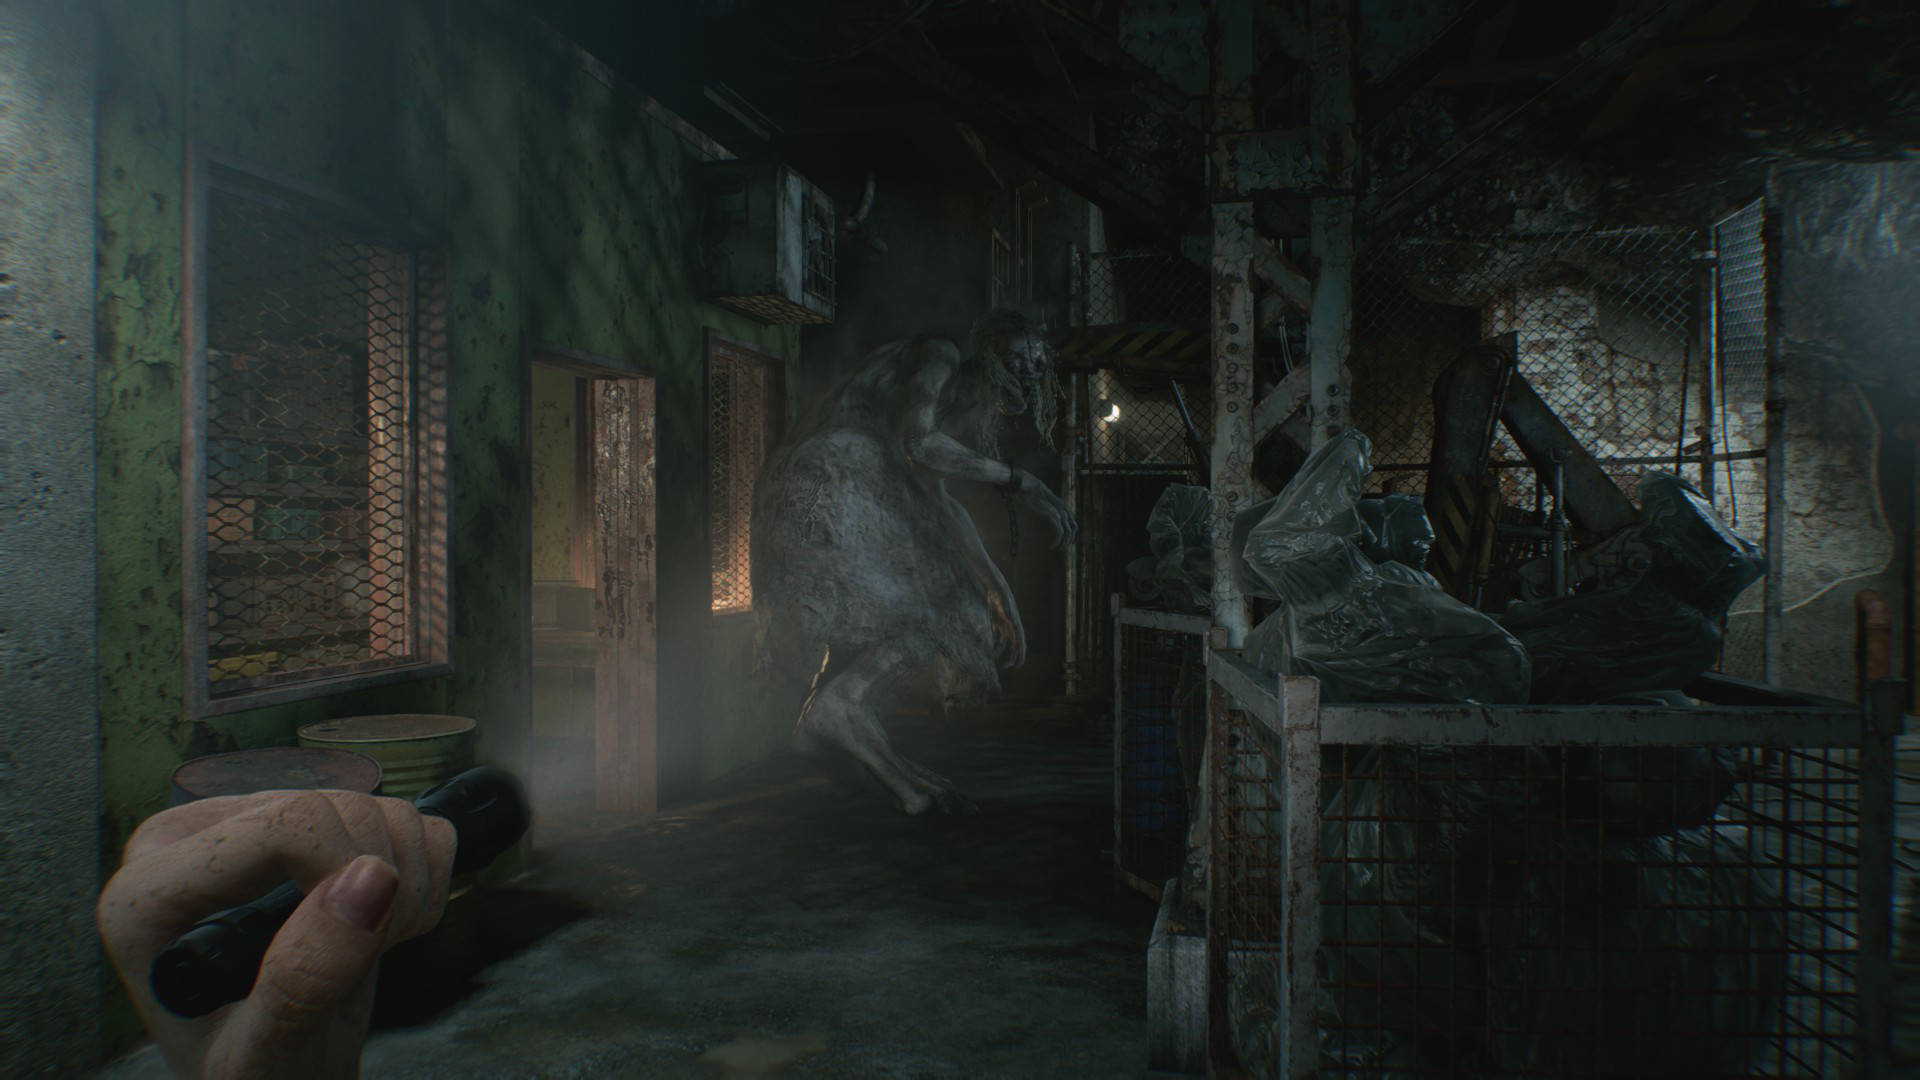
The basement of the Rhodes Hill Sanatorium presents one of the most challenging sections of Resident Evil Requiem. Dark corridors, cramped cells, and a relentless shadowy creature create a constant sense of pressure. Players, as Grace, must identify all three Joint Plugs to restore power and free Emily from her cell. The path to doing so involves several puzzles where timing is critical.
How the Plug System Works in the Basement
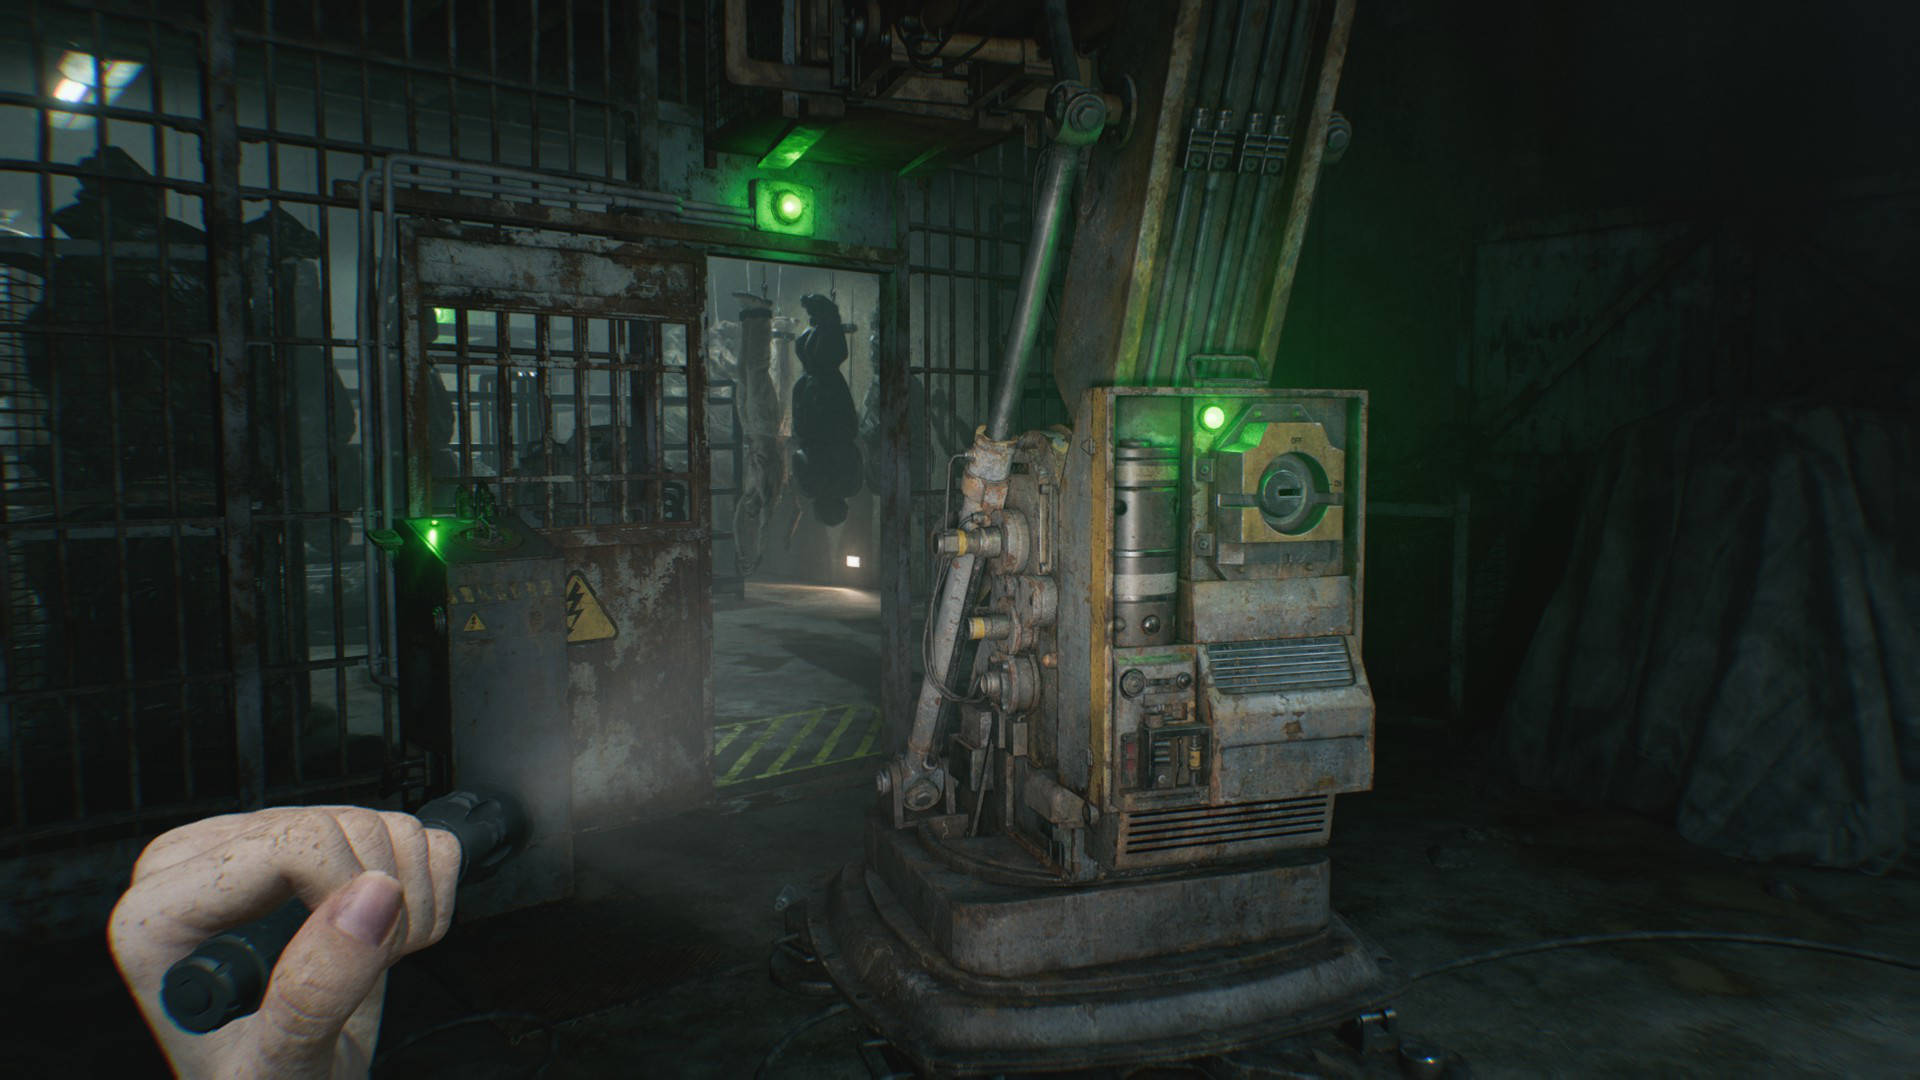
After descending into the basement with Grace, players must follow the dark corridor. Several socket locations will become apparent, appearing to lack a central power source. These can initially be ignored as you progress toward the Furnace and the adjacent cell block.
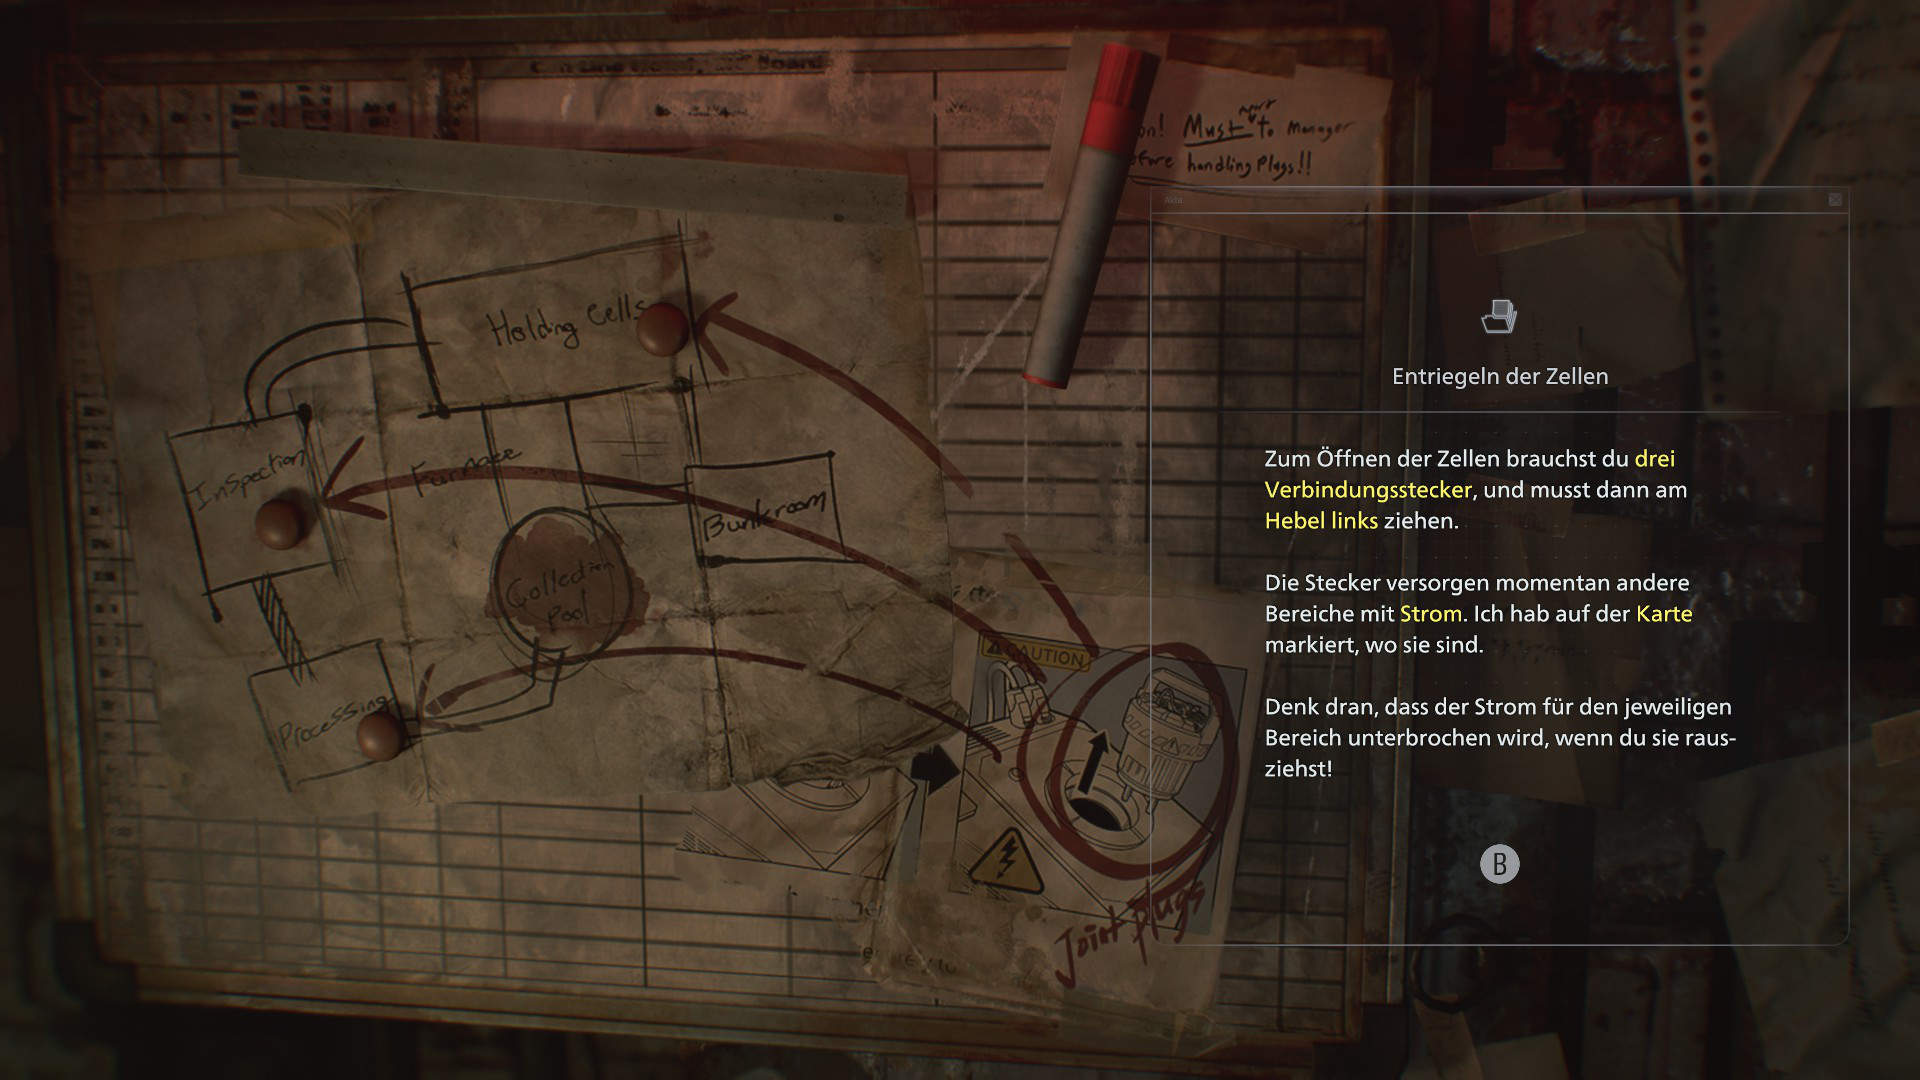
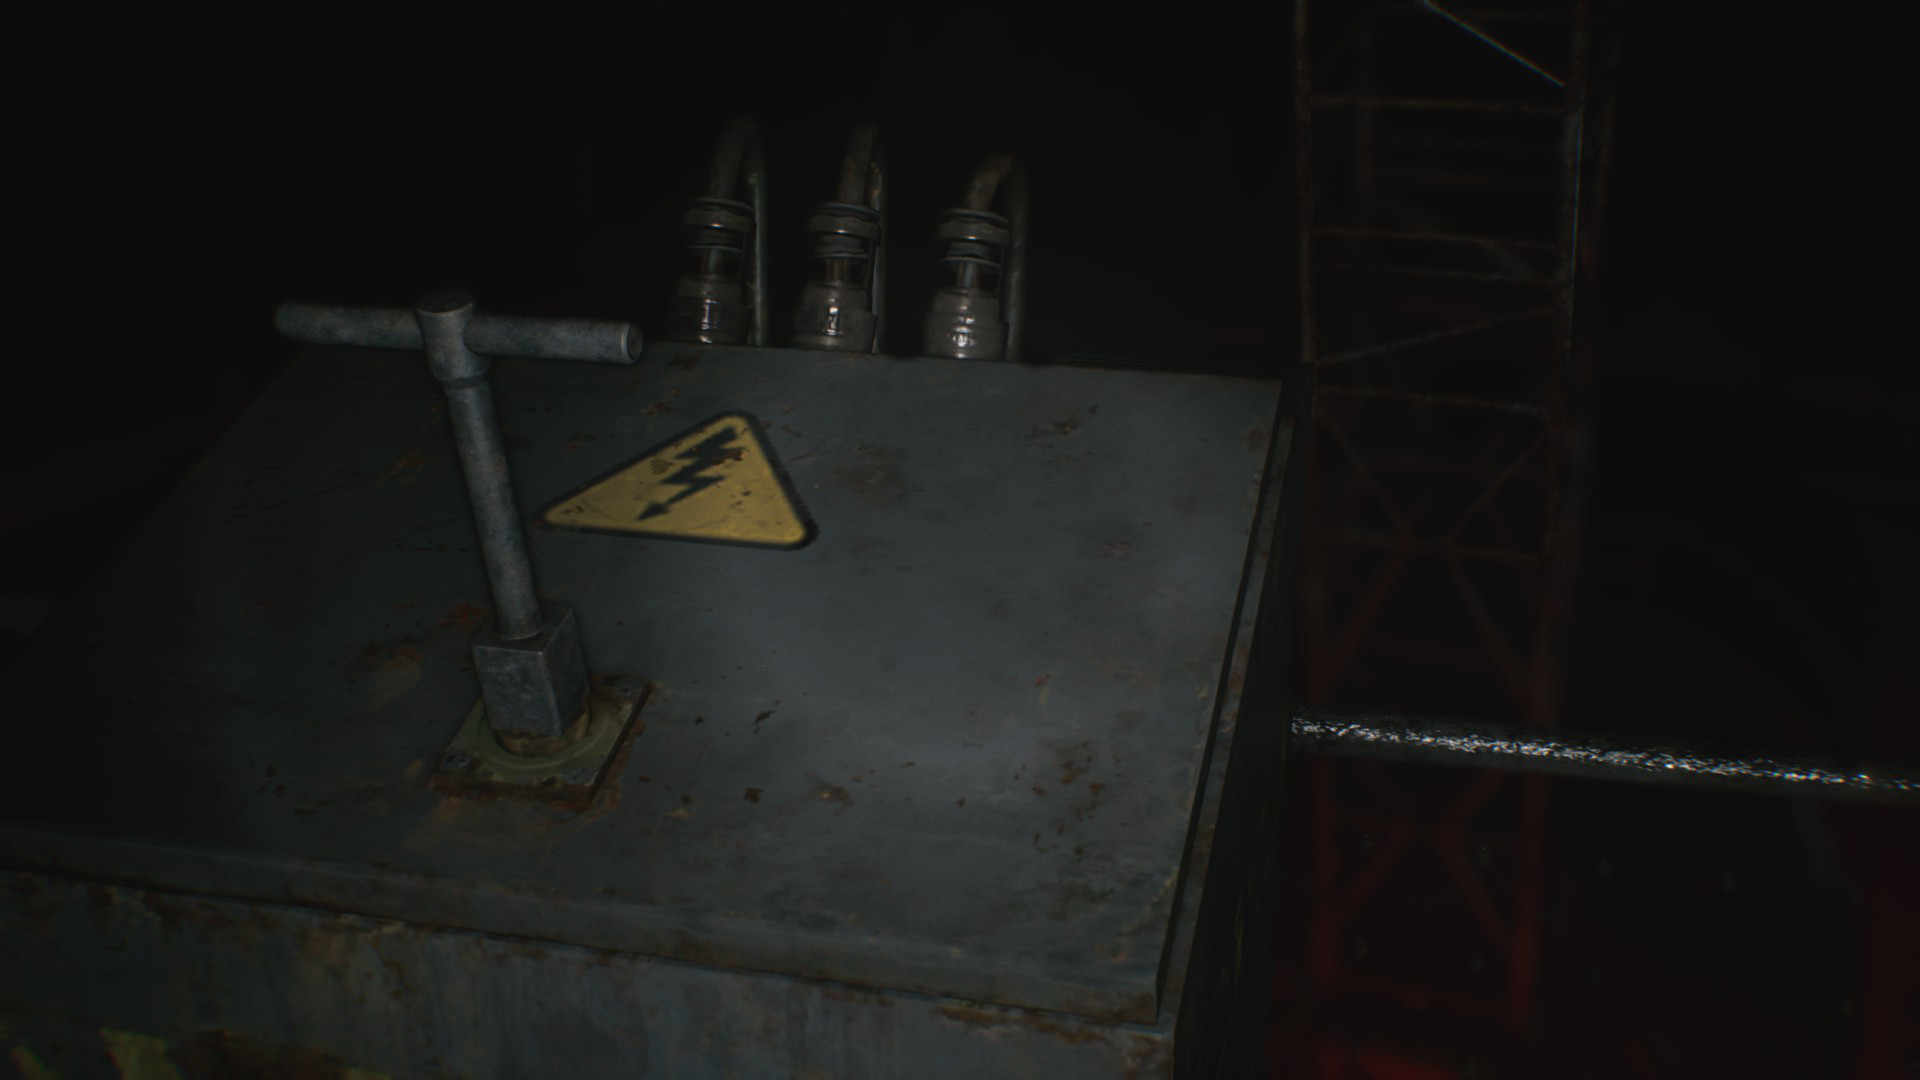
At the end of the cell block, players will find the console where all three Joint Plugs must eventually be installed. Removing the first plug will plunge the area into darkness and unleash the shadowy creature. Players must quickly hide in an open cell until the creature moves on.
Key points to remember:
- Joint Plugs restore power to specific areas.
- Removing a plug will cause darkness elsewhere.
- Some doors remain open only while powered.
- Light temporarily repels the creature.
First Joint Plug in the Cell Block
With the first Joint Plug in hand and the shadowy creature cleared from the cell block, players can now activate new areas. Whenever a console with a plug slot is encountered, it indicates a hidden room nearby.
Open the Boiler Room and Get the Tool
Return toward the basement entrance with the Joint Plug. A secured door will be found, which can be opened using the plug. Beyond it lies a small storage room.
- Insert the plug.
- Move the crate with the yellow band to the left.
- Crawl through the opening in the fence.
- Enter the boiler room.
Inside the boiler room, players will find green herbs and an empty bottle. Near a body, a Square Socket Wrench can be found in a box on the floor.
Returning to the boiler room will trigger another encounter with the creature. Remain crouched and turn off your flashlight. When the creature moves, quickly move in the opposite direction and back toward the corridor, remembering to retrieve the Joint Plug.
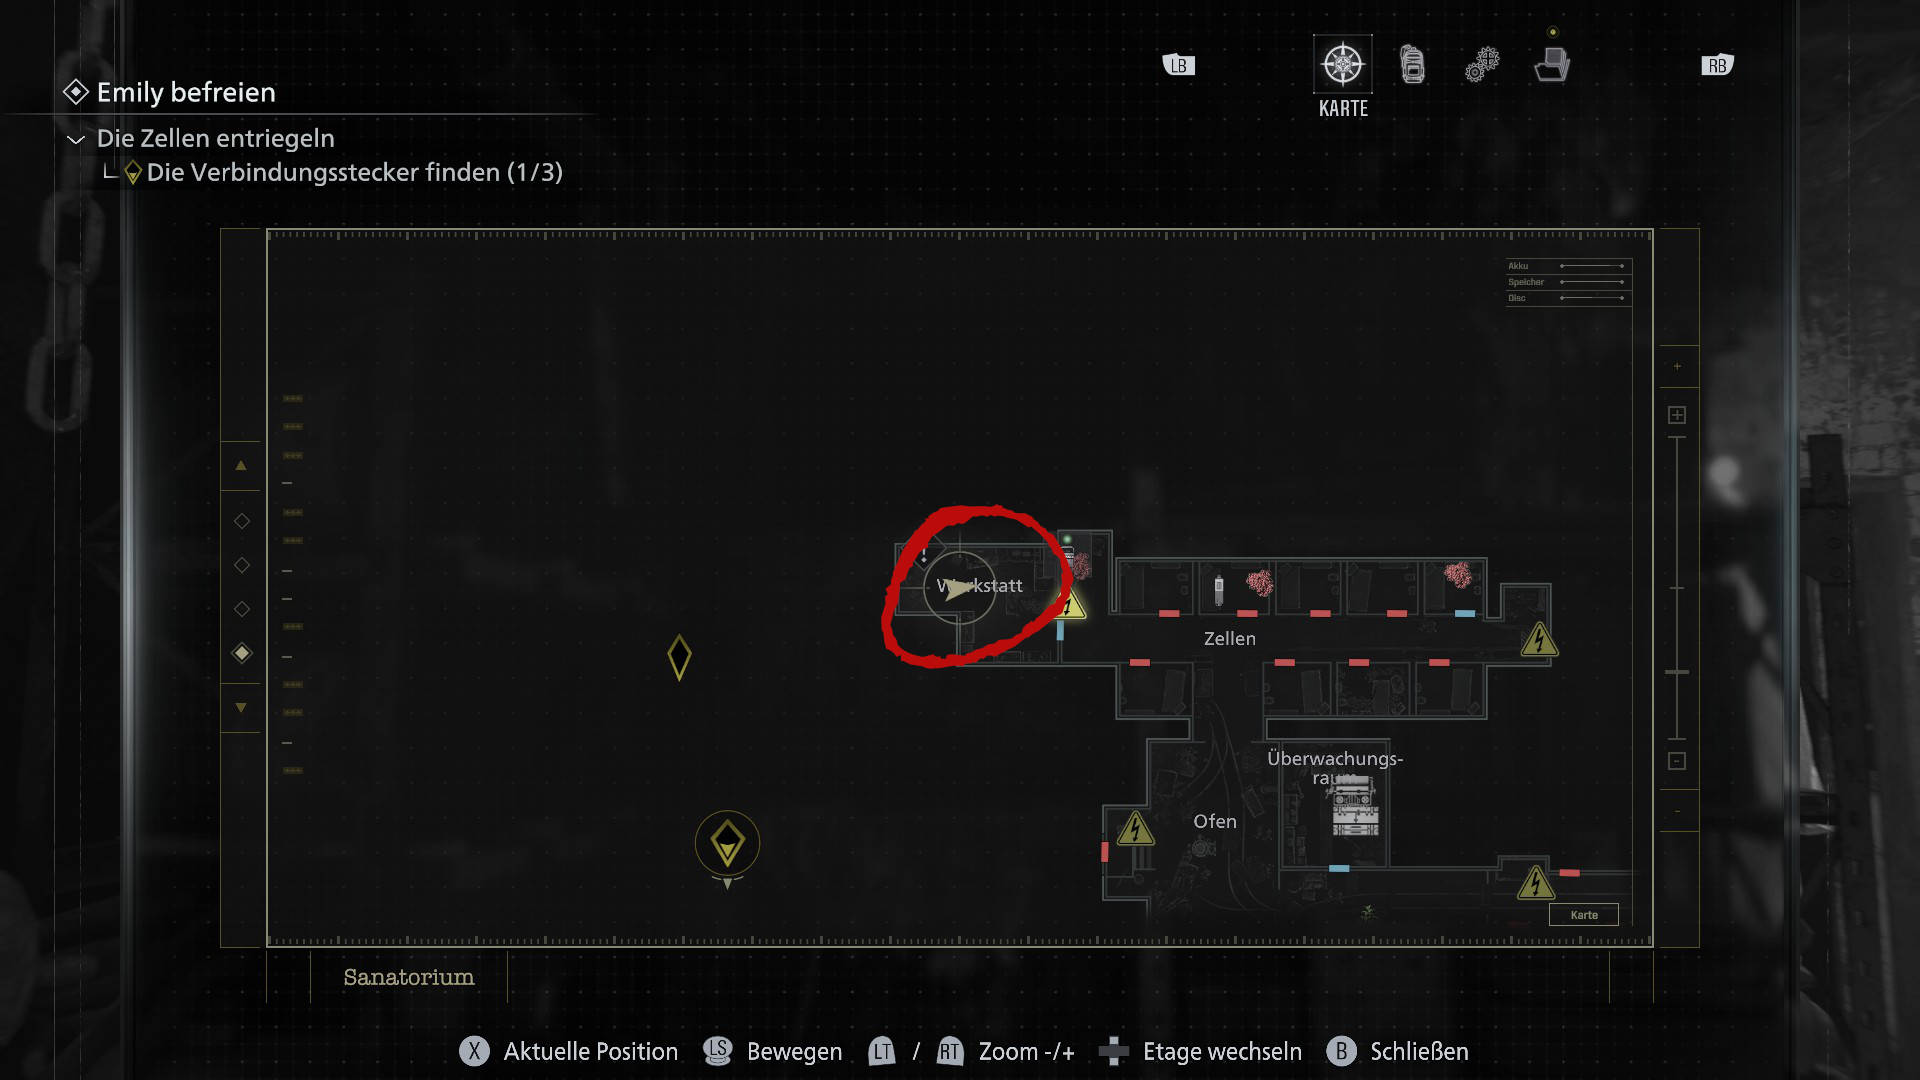
Workshop and Second Joint Plug
Return to the cell block and head left. A console will be found, which can be activated with the Joint Plug, revealing the workshop.
Inside the workshop:
- Collect metal parts.
- Crawl through the narrow shaft.
At the end, players will find a forklift and, next to it, the second Joint Plug. Depart the plug in place for now, as removing it will plunge the area into darkness. To the left, a small office can be looted.
Then, remove the second plug from the console. As darkness falls, the creature will reappear. Quickly escape through the tunnel to avoid taking damage.
Collection Pool and Path to Processing
Return to the room with the furnace. Proceed straight to the collection pool. Turn on your flashlight early to spot the zombie standing in the corridor. Then, use the Square Socket Wrench at the console. Inserting both Joint Plugs will power the area and open the door to the left.
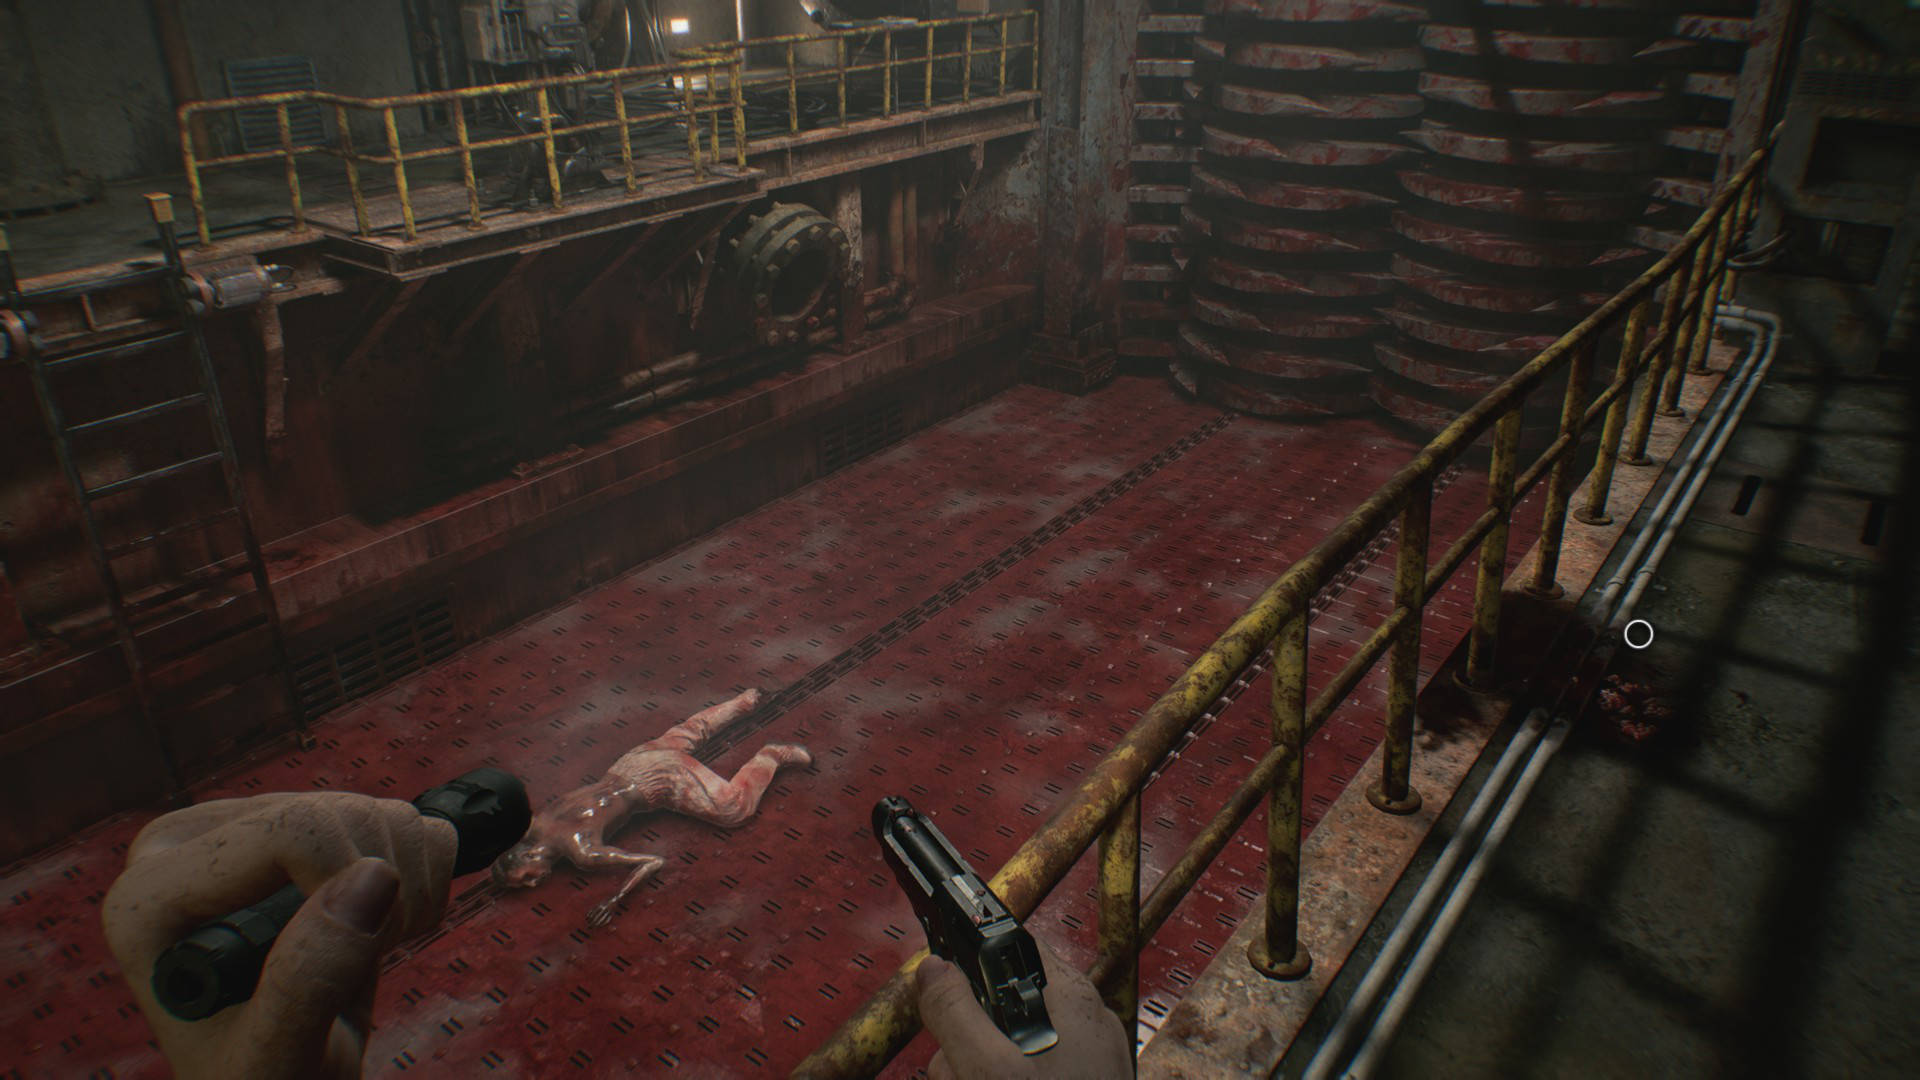
Behind the door is a rickety grid floor that will collapse if crossed. Instead, head through the fan and climb the ladder to reach the processing area.
Here, the forklift key can be found on the floor next to a body in a side room. Return with the forklift key and collect the two plugs that were previously inserted.
- Important: Do not remove the plug in the processing area, or your return path will be blocked.
Inspection and Access to Processing from the North
Return through the workshop and use the first plug to open the door. Then, walk through the small tunnel, wait for the creature to move to the left, and insert the second plug next to the forklift. The lights will turn on, completely repelling the creature.
Then, go to the room behind the forklift, where several bodies hang from the ceiling. Proceed as follows:
- Open the two lockers on the left.
- Follow the moving bodies and slip into the shelving unit on the left (Caution: Bodies without body bags may grab you, but they will not injure you).
- Move the rolling cart and collect the ammunition.
- Return to the entrance and flip the switch so the zombies move in the other direction.
- Run between the zombies to the back and to the save point.
The Battle in the Conveyor Room and the Third Joint Plug
In the processing area, turn the large handwheel to drain the pool. Then, collect Molotov cocktails and ammunition from the edge. After a few seconds, the shredder will start and the conveyor belt will move. Players must eliminate the zombies and survive for about two to three minutes.
- Important: The shredder will destroy most of the zombies on its own. The few zombies that reach you can be stunned by shooting them in the legs, saving ammunition.
Climb the ladder on the other side. The third Joint Plug is located there. Collect it and leave the processing area through the ventilation shaft near the typewriter. Now, you have all three plugs.
- Note: Do not remove the plug in the processing area, or you will block your return path.
Freeing Emily and Escaping the Basement
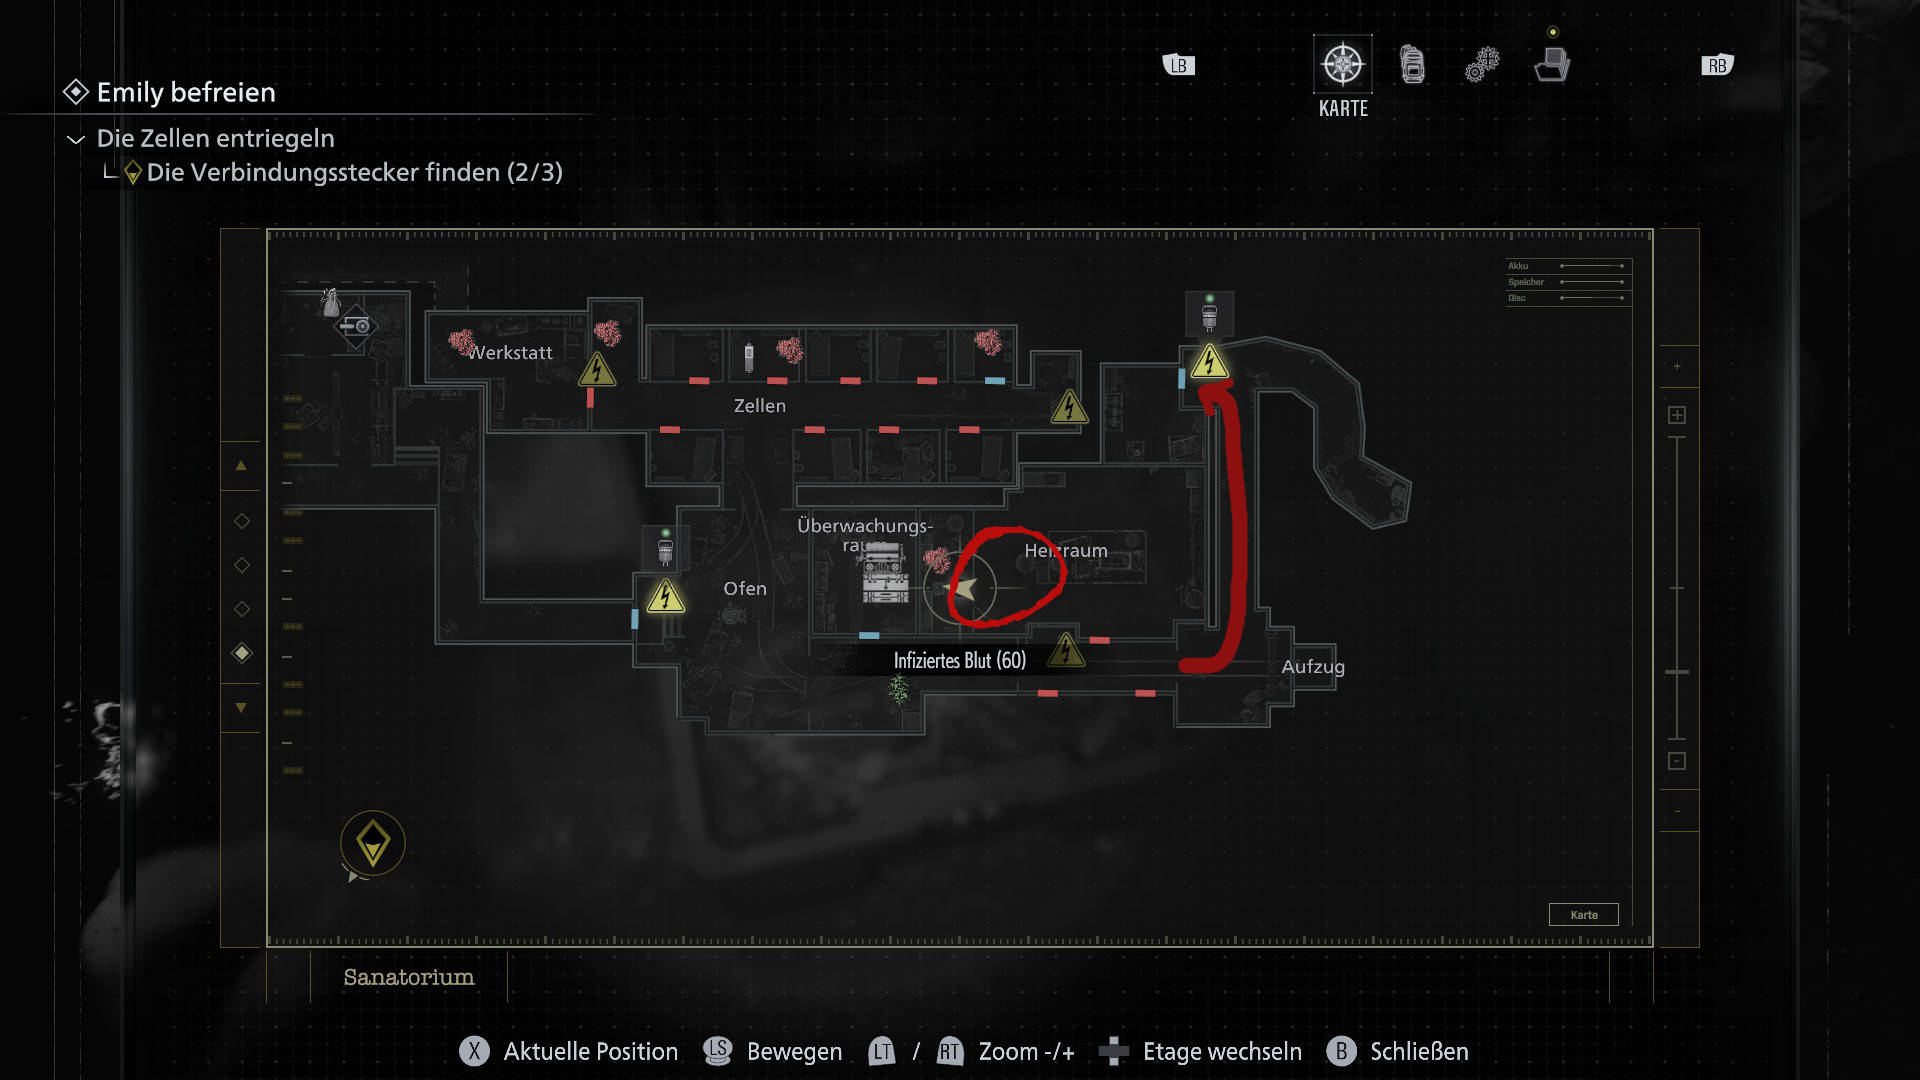
Return to the electrical room in the cell block and insert all three Joint Plugs. This will restore power to all areas. With Emily in tow, walk through the cell block, past the furnace, and down the corridor near the surveillance room. The elevator will be visible at the end.
- Note: Depending on the game’s progress, a strong enemy may appear when removing a Joint Plug in the area near the furnace, while the shadow creature is also active. In this case, you should first eliminate or stun the mutant and then immediately retreat.